The Steak Game:
Expert Tips to Master Every Cut at Home
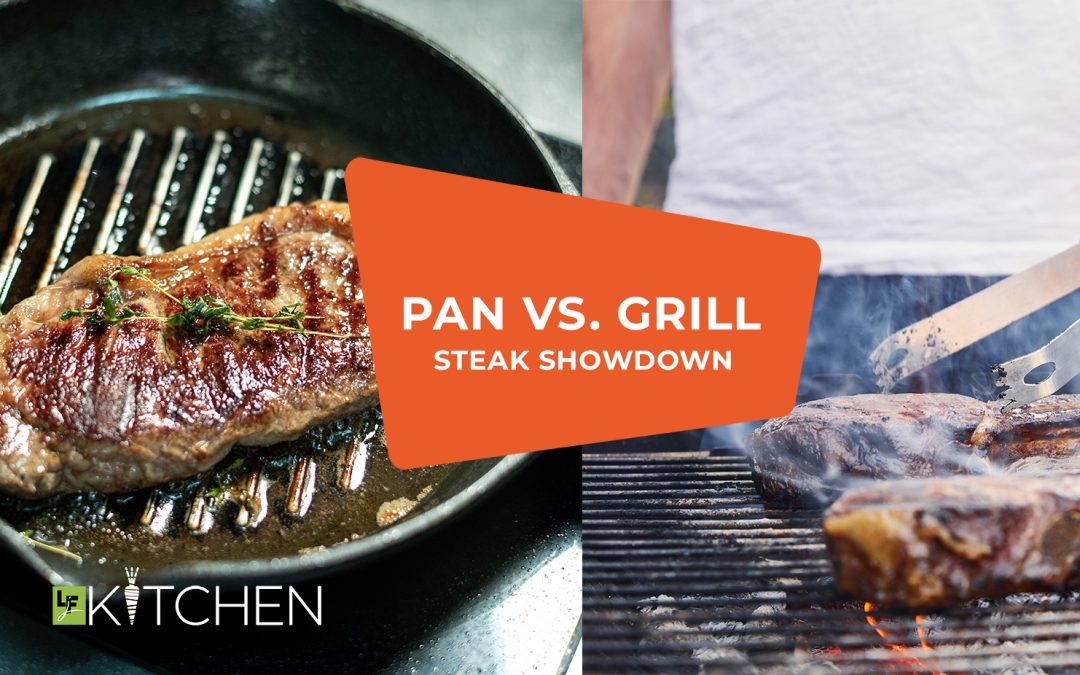
Cast Iron Control vs. Flame-Finished Flavor — Here’s How to Choose Like a Pro
If you’ve ever stood in your kitchen holding a beautiful steak wondering, “Should I pan-sear or grill this?” — you’re not alone.
The truth is, both methods can produce restaurant-worthy steak. But they shine in different ways, and knowing when to reach for cast iron vs. fire is the difference between a good dinner and an incredible one.
Let’s break it down like a chef would — so you feel confident no matter what heat source you choose.
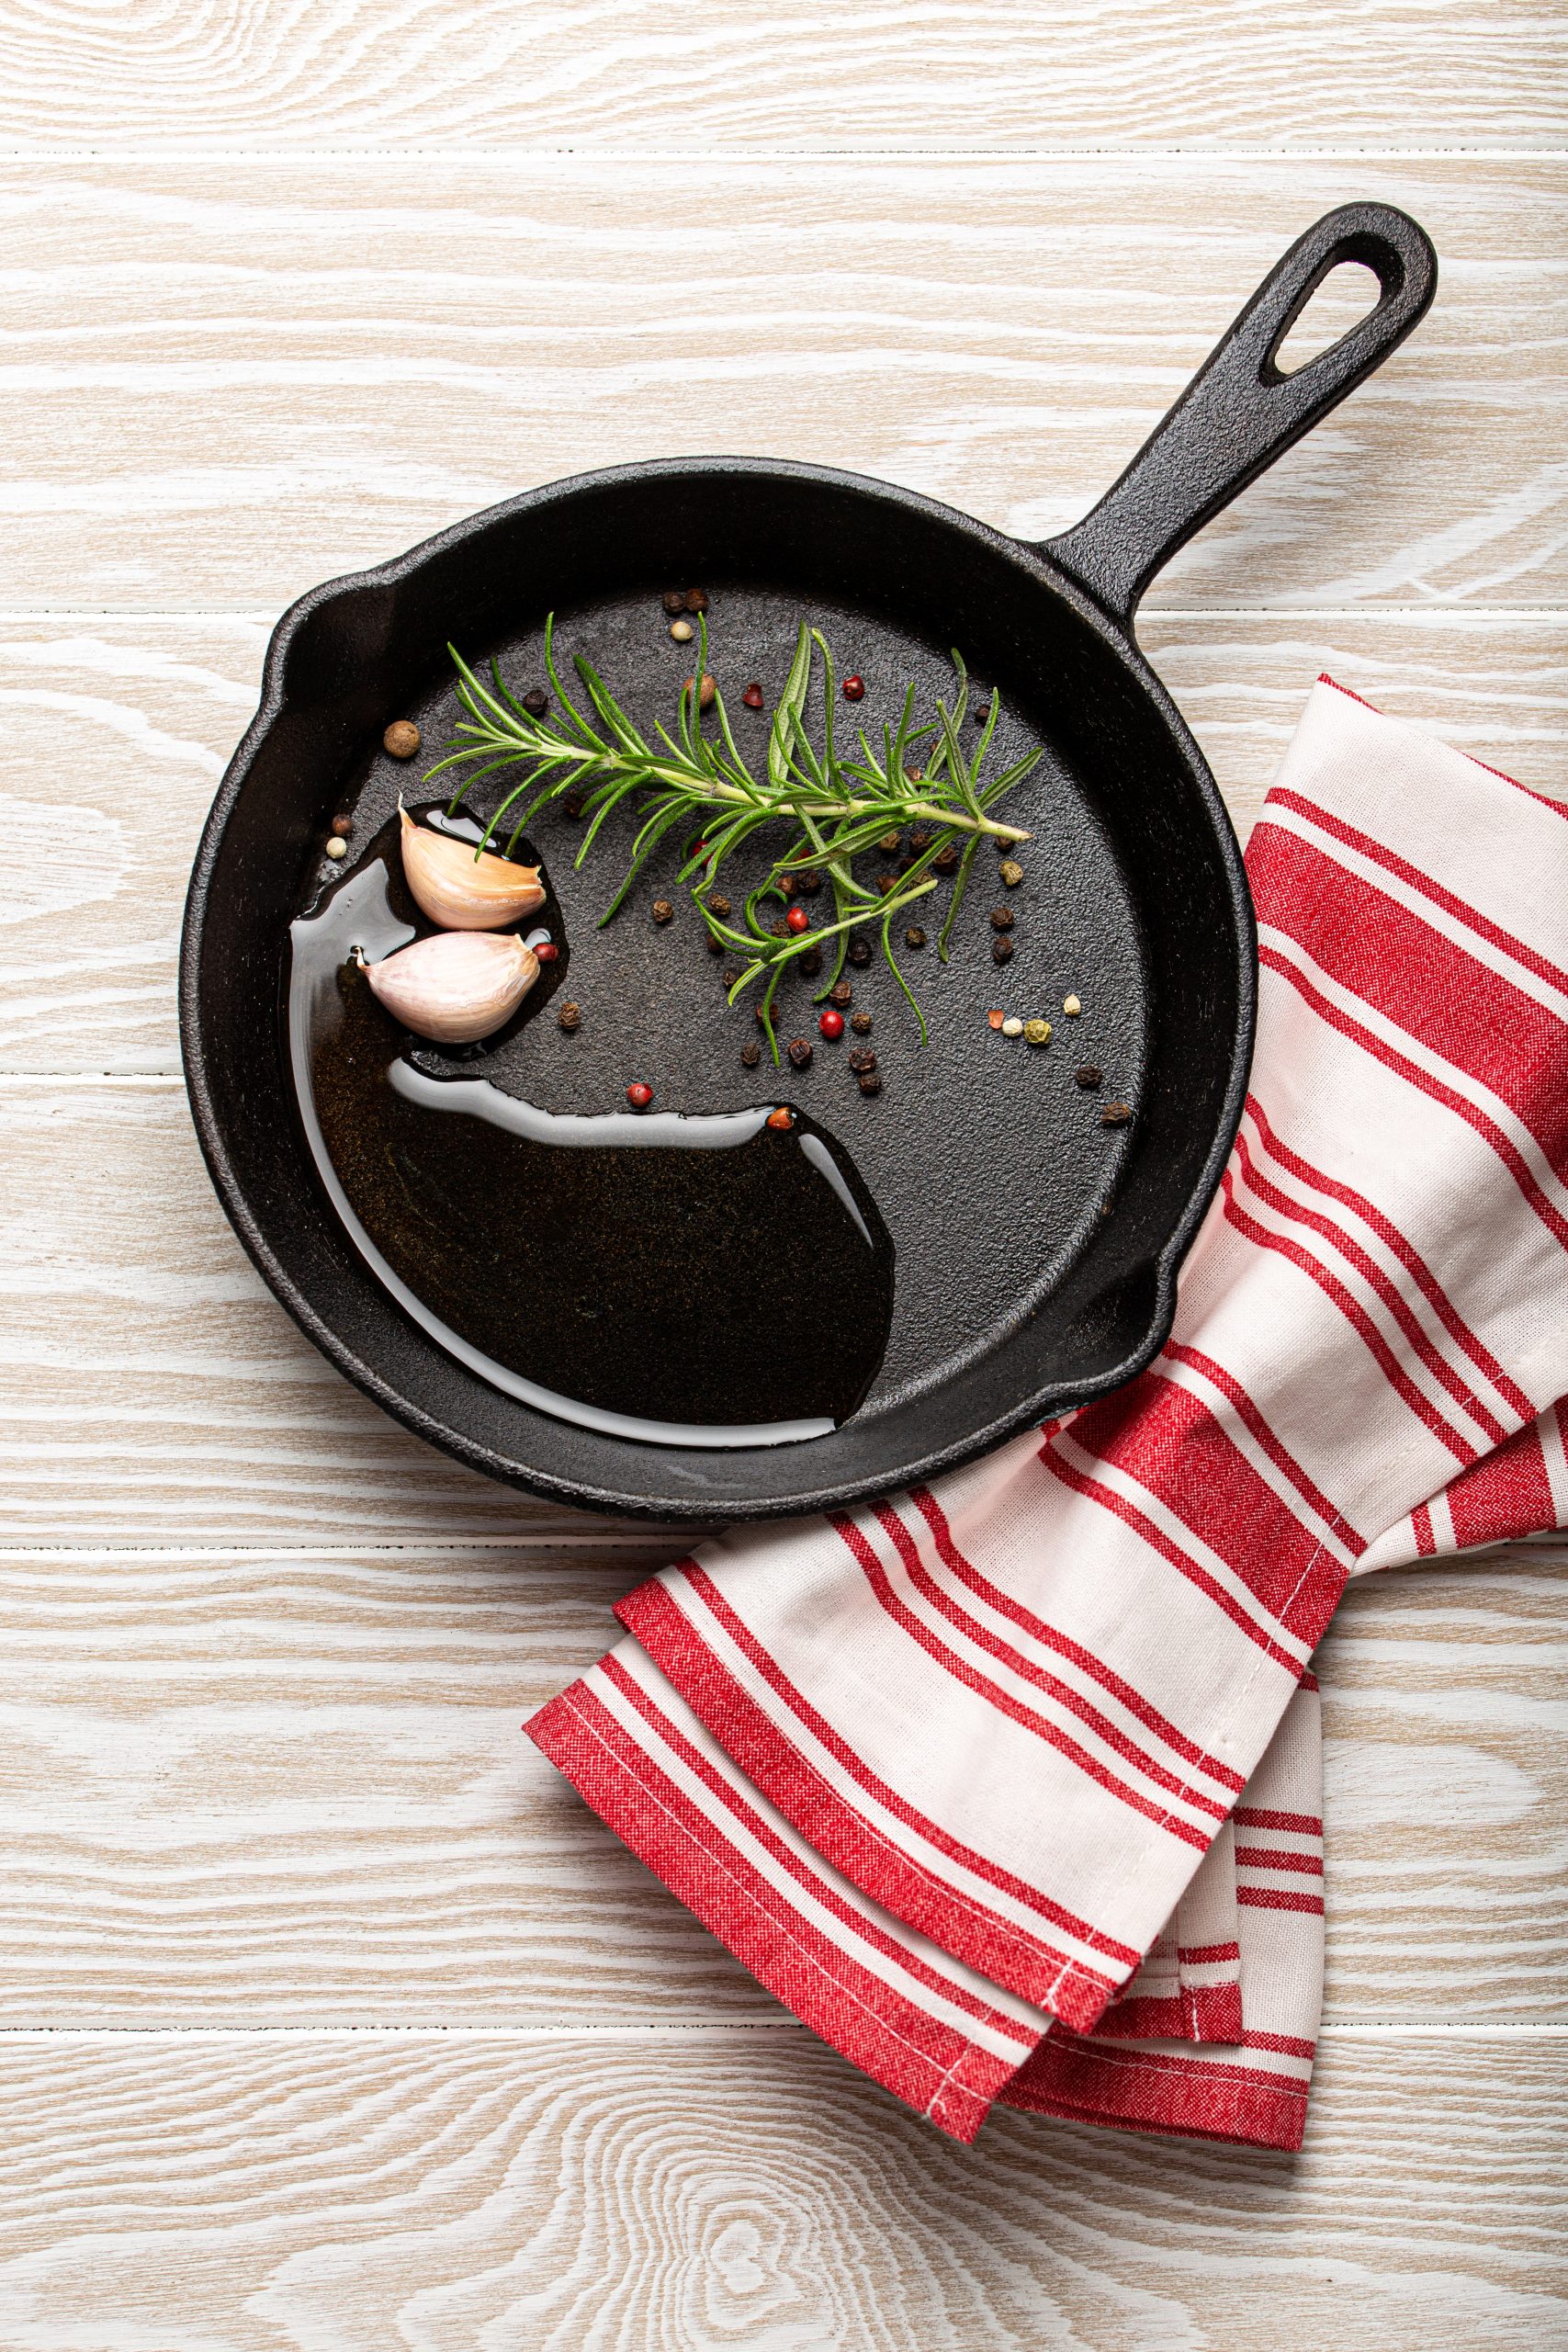
Cooking with Cast Iron (or Heavy Skillet):
Best for precision, weatherproof searing, and that unbeatable crust
When I want full control — and zero chance of rain messing with my dinner — I go cast iron.
Why It Works:
-
Retains heat like a champ for consistent, even browning.
-
You can control every variable: temp, butter, aromatics, and doneness.
-
Perfect for indoor cooking any season, any weather.
When to Use Cast Iron:
-
Cooking for 1–4 people
-
Wanting steakhouse-style crust
-
Indoor dinner parties or weeknight meals
-
Leaner cuts (filet, sirloin) that benefit from basting

Step-by-Step Chef Method:
- Pat the steak dry.
Moisture = steam. Steam = sad, gray steak. Use paper towels and press firmly. - Let the steak come to room temp.
About 30 minutes on the counter helps it cook evenly. - Salt early, pepper late.
Season generously with kosher salt at least 30 mins ahead if you can. Add pepper just before searing to avoid burnt bitterness. - Heat your pan until it’s screaming hot.
A drop of water should sizzle and vanish. Don’t add oil until just before the steak goes in. - Sear 2–3 minutes per side.
Let it sit untouched to build a golden crust. Don’t poke, prod, or flip constantly. - Butter-baste for richness.
Once flipped, add a knob of butter, smashed garlic, and herbs (like thyme or rosemary). Tilt the pan and spoon that sizzling butter over the steak. - Rest it. Seriously.
Move the steak to a rack or board and let it rest 5–10 minutes. This locks in the juices and keeps it tender.

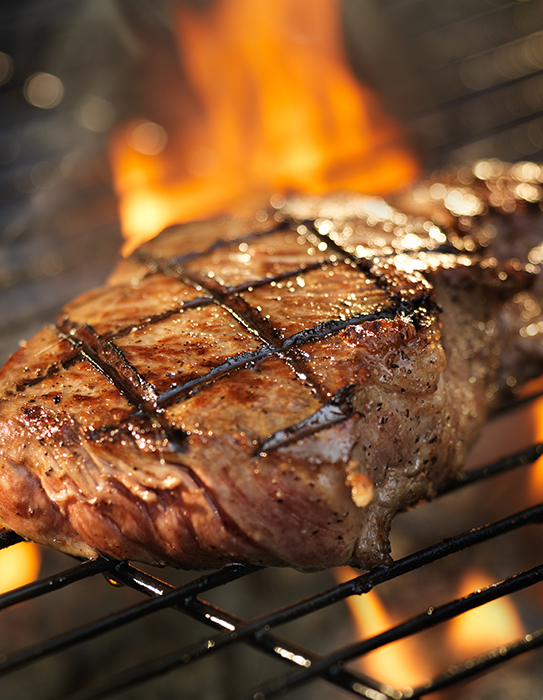
Grilling your Steak
Best for smoke, char, and summer vibes
There’s just something about grilling — the flame, the ritual, the sizzle. And when done right, it delivers a bold, craveable crust with a whisper of smoke.
Why It Works:
-
Extreme heat + open flame = fast sear
-
Adds a smoky, charred flavor you can’t get indoors
-
Great for larger cuts or when you’re feeding a crowd
When to Use the Grill:
-
You’ve got beautiful weather and a cold drink in hand
-
Cooking multiple steaks or thick cuts (ribeye, T-bone)
-
Want bold flavor and char
-
Hosting friends or craving a backyard vibe

Step-by-Step Chef Method:
- Preheat your grill fully.
At least 10–15 minutes. You want it hot — 450–500°F for steak searing. - Oil the steak, not the grill.
This prevents sticking and helps seasoning adhere. - Season boldly.
Use kosher salt, pepper, and even a spice rub if you like a crusty edge. - Use two-zone heat.
- Direct heat for the initial sear (2–3 min per side)
- Indirect heat to finish thicker cuts to temp without burning
- Don’t press your steak.
That hiss? It’s your hard-earned juices escaping. Let it be. - Rest just like indoors.
Tent loosely with foil and let sit before slicing
Chef Bordeaux’s Doneness Test (No Thermometer Needed)
Not sure if it’s done? Use the touch test — it’s old-school, but it works:
-
Rare = feels like your cheek (very soft)
-
Medium = feels like your chin (firm with some give)
-
Well-done = feels like your forehead (very firm)
Still unsure? Invest in a digital meat thermometer and aim for:
-
Medium-rare: 130–135°F
-
Medium: 140–145°F


